Colored pencils are a fantastic medium for creating realistic artwork. Whether you’re coloring intricate designs in your adult coloring book or working on your own art projects, mastering the art of using colored pencils can help you create stunning, lifelike images. But where do you start? In this guide, we’ll walk you through the essential techniques for coloring with colored pencils to make your art look as realistic as possible—whether you’re a beginner or have some experience under your belt.
Why Colored Pencils Are Perfect for Realistic Art
Colored pencils are versatile and easy to use. Unlike paints or markers, they give you full control over how you apply color, allowing for detailed, precise shading and blending. Their ability to layer colors and build up depth makes them ideal for creating realistic effects in drawings and coloring pages.
For beginners, the appeal of colored pencils lies in their simplicity—they don’t require a lot of complex tools or materials, and they’re perfect for those just starting their artistic journey. As you progress, colored pencils also provide opportunities to refine your techniques and produce truly lifelike results.
Getting Started: The Basic Tools You Need
Before we dive into the techniques, let’s make sure you have the right tools.
Choosing the Right Colored Pencils
The quality of your pencils will significantly affect your results. For realistic art, you’ll want to invest in high-quality colored pencils. Look for pencils with soft cores, such as Prismacolor Premier or Faber-Castell Polychromos. These pencils are known for their rich pigmentation and smooth application, making them ideal for layering and blending.
Choose the Right Coloring Book
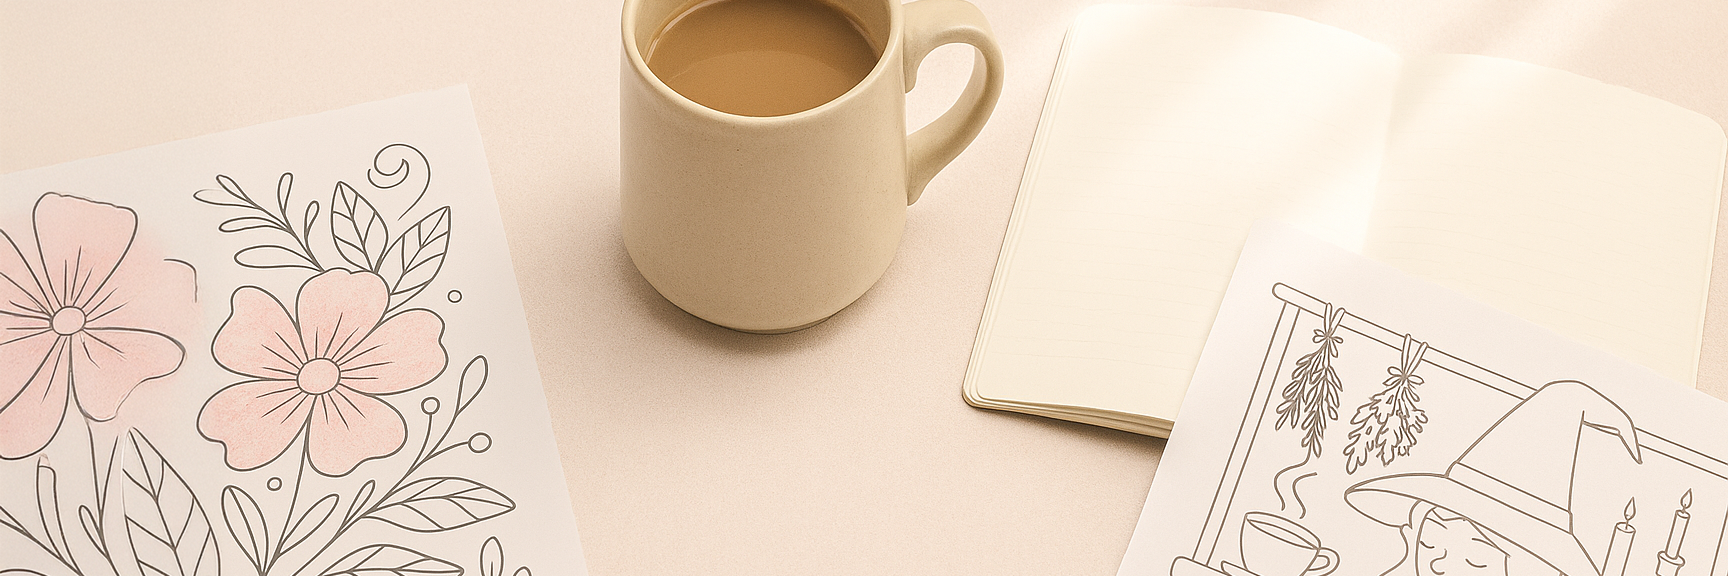
Selecting the right coloring book is just as important as choosing the right tools for realistic colored pencil art. Opt for coloring books that feature high-quality, thick paper that can handle multiple layers of color without warping or tearing. Look for books that offer intricate designs with plenty of details—these allow for more depth and dimension in your coloring. Choosing a book with single-sided pages can also help prevent colors from bleeding through, ensuring your artwork stays crisp and clean. Whether you prefer florals, animals, or abstract designs, make sure the book you choose aligns with your artistic interests and skill level.
Step-by-Step Guide to Realistic Coloring with Colored Pencils
Now, let’s dive into the techniques that will help you create realistic, lifelike art with colored pencils. We’ll start with the basics and build up to more advanced methods.
1. Layering Colors for Depth
Layering is one of the most important techniques when it comes to realistic coloring. By applying multiple layers of color, you can achieve a smooth, even finish with lots of depth. Here’s how to layer colors effectively:
-
Start Light: Begin with a light application of your first color. Use a light hand to apply it evenly, covering the areas you want to color.
-
Build Gradually: Once the first layer is down, apply a second layer of a slightly darker color. Use a circular motion to blend the two layers together. Keep layering in light, thin strokes. This creates a smooth transition between colors.
-
Add Details: To make the image more lifelike, add darker tones where shadows naturally fall. Use a darker shade of the color you started with, or add a completely new color for contrast.
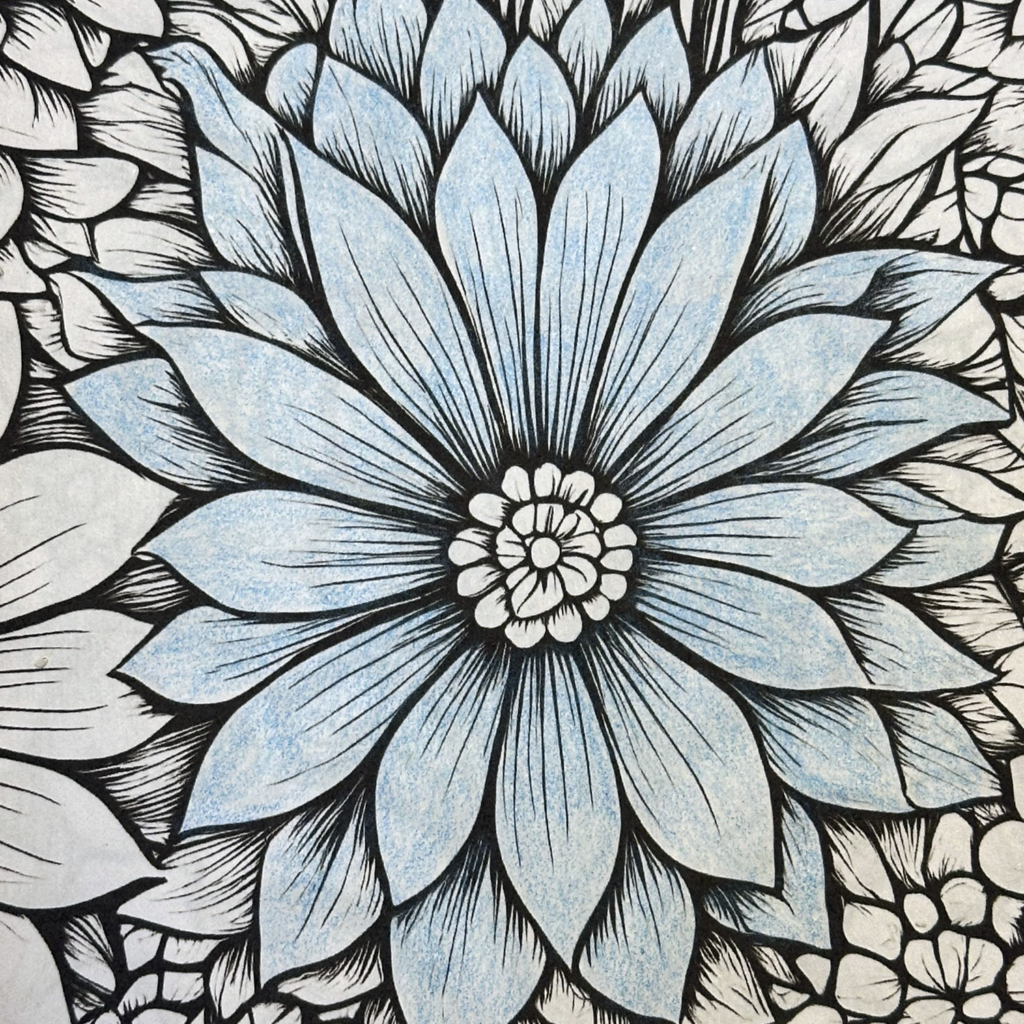
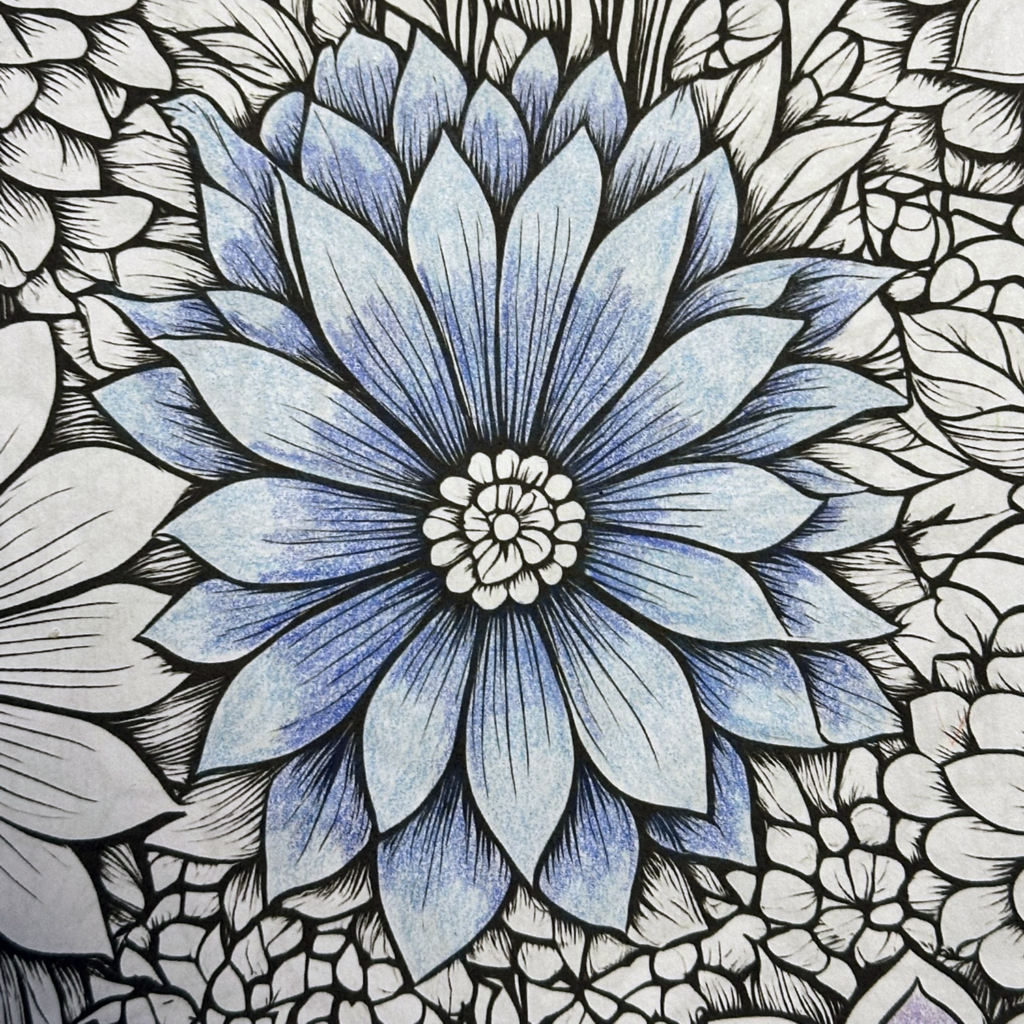
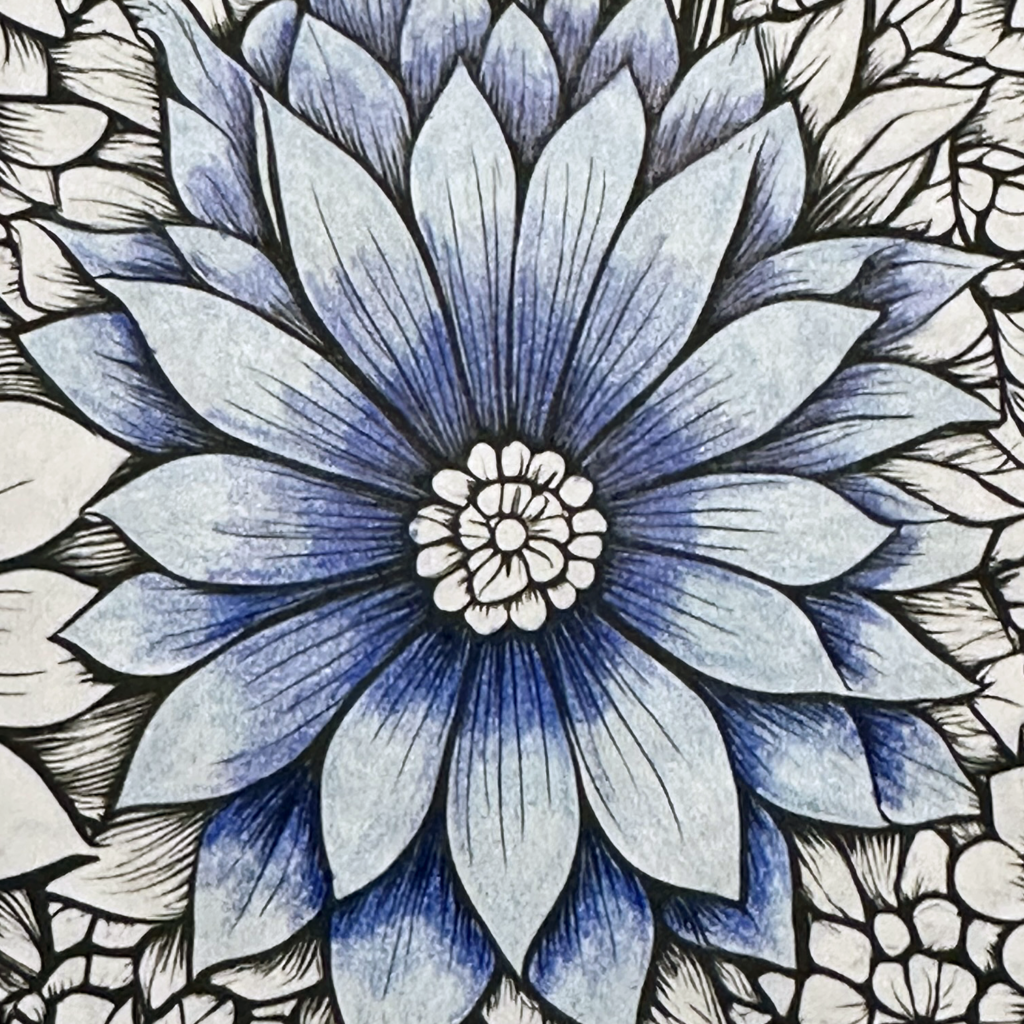
2. Blending for a Smooth Finish
Blending colored pencils is a crucial skill for achieving that soft, realistic look. You can blend colors in several ways, but the key is to use light pressure and build up colors gradually.
-
Use a Colorless Blender: A colorless blender pencil is a great tool for blending colors seamlessly without altering their hue. Apply the blender over the layers of color to soften the lines and create a smooth finish.
-
Blending with a White Pencil: If you don’t have a blender pencil, a white pencil can also be used to blend colors. Use it lightly over the colored areas, pressing firmly enough to blend without completely covering the color.
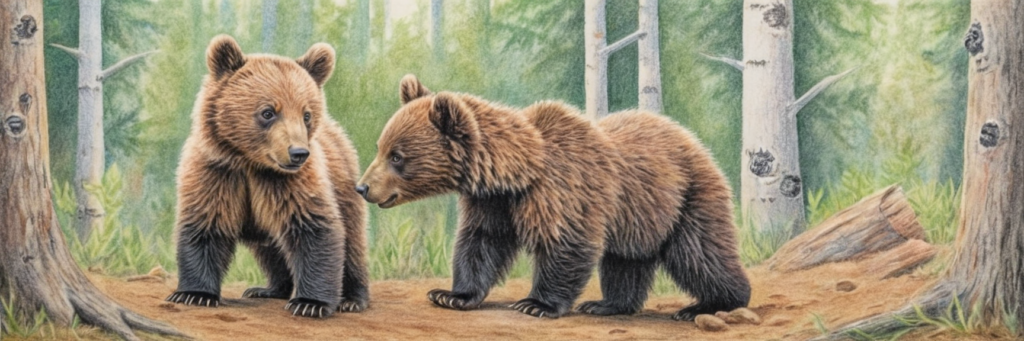
3. Creating Highlights and Shadows
To make your artwork pop and appear more three-dimensional, you need to pay attention to highlights and shadows. These elements bring depth to your drawing and enhance realism.
-
Shadows: Apply darker shades in areas that are naturally shadowed. For example, the underside of a leaf or the creases of an animal’s fur should be darker than the surrounding areas. Blend these darker areas softly into the lighter colors.
-
Highlights: For highlights, leave areas uncolored or use a white pencil to gently add lightness to the spots that catch the most light. For example, the highlight on the tip of a petal or the shine in an eye can be emphasized with a light touch of white or a cream-colored pencil.
4. The Power of Detailing
Once you’ve mastered the layering, blending, and shading, it’s time to add the small details that make the artwork truly realistic. Tiny touches, such as veins on leaves, freckles on skin, or texture on fur, can make a huge difference.
-
Use Fine-Tip Pencils: For intricate details, use a sharp pencil to create tiny lines or dots that replicate textures. Focus on areas like veins in leaves, details in eyes, and fine hair or fur strokes.
-
Textural Effects: Experiment with adding textures like rough bark or soft skin by layering strokes in different directions. Varying the pressure of your pencil can help you mimic the texture you’re aiming for.
Final Touches and Tips
When you’re finished with your piece, it’s essential to protect your work and ensure it lasts. Here are a few final tips:
-
Fixative Spray: To prevent smudging, use a light coat of fixative spray over your finished artwork. Be sure to spray from a distance to avoid disturbing the delicate layers of color.
-
Storage: Keep your artwork stored in a dry, flat space to preserve its vibrancy and texture.
Ready to Start Creating Your Own Realistic Art?
By following these techniques, you can achieve stunning, realistic results with your colored pencils. Whether you’re coloring a relaxing adult coloring book page or creating your own artwork, the right methods and tools will make all the difference.
Want to take your skills even further? Sign up for our free printable coloring pages at Phi McRee Designs and start practicing today! Plus, check out our full collection of coloring books for all skill levels—perfect for anyone ready to master the art of colored pencil realism. Or learn more in depth information about coloring techniques with colored pencils.