
Blending is often the key to transforming a simple coloring page into a stunning piece of artwork. If you are a beginner or intermediate colorist eager to master techniques for coloring with colored pencils, you’re in the right place. Not only will blending make your images look more professional, but it also helps you experiment with color combinations, create depth, and add realistic shading. Whether you prefer Prismacolor Premier colored pencils or Faber Castell colored pencils, learning how to blend effectively will elevate your entire coloring experience. This comprehensive guide will walk you through the best tools, methods, and creative tips, so you can confidently use colored pencils that blend to produce vibrant results.
Why Blending Matters in Coloring
Blending isn’t just about smoothing out pencil strokes; it’s also about creating transitions that look seamless and alive. When you combine colors properly, you can achieve everything from subtle highlights to dramatic shadows. This range of tonal depth is especially helpful in coloring books that feature intricate designs or highly detailed illustrations. Blending is the secret sauce that makes coloring sessions more satisfying.
In the world of adult coloring books, blending is also an essential skill to help you combat stress. The soothing, repetitive motion of coloring combined with the joy of watching hues merge can have a meditative effect. If you’ve ever wanted to create vibrant skies or realistic animal fur in your coloring pages, understanding blending will guide your hand in achieving those picture-perfect gradients and textures.
Choosing the Right Colored Pencil Set
While blending can be done with almost any decent pencil, certain brands stand out for their pigment quality and ease of layering. Prismacolor Premier colored pencils offer a buttery smoothness and rich color payoff, making them particularly beginner-friendly. The soft core allows for easy color layering, so you don’t need to press hard to blend multiple colors together. These pencils are popular among hobbyists and professionals alike because of their vibrant pigments.
On the other hand, Faber Castell colored pencils are known for their lightfastness and sturdy leads. Their oil-based core gives them a slightly different feel compared to the wax-based Prismacolors, but they are equally impressive for blending, especially if you like more controlled shading. Some artists feel Faber Castell pencils hold a sharper point longer, making them ideal for detailed sections in intricate coloring pages.
Another popular choice is the Vikavas colored pencil set, praised for its budget-friendly price and bright color selection. This set’s main draw is its versatility: you can use them for everything from quick sketching to layered coloring in adult coloring books. While not as soft as certain professional lines, they still deliver solid performance, and you’ll find that blending is smoother than expected for the price point. That makes Vikavas a great option if you’re just getting into the coloring hobby or looking for a gift that balances quality and affordability. You can see my review of this set here.
Setting the Stage: Tools and Setup
Before diving into how to blend with colored pencils, gather a few essential tools. While these suggestions aren’t strict rules, they can drastically improve your results:
• A high-quality coloring surface or paper that’s thick enough to handle layering without tearing.
• A colorless blender pencil or blending marker, if you want to refine your gradients further.
• A good eraser that doesn’t smudge. Kneaded erasers can be especially handy for lifting color gently.
• Scrap paper or a swatch sheet to test color combinations before you commit them to your artwork.
Make sure you have decent lighting so you can accurately see color transitions as you work. Natural daylight or a daylight-simulation lamp is best, but any bright and consistent light source will do. You might also consider using an underlay or clipboard to provide a smooth backing if your coloring book pages aren’t tear-out sheets.
Step-by-Step Blending Techniques for Beginners
Layering Colors Gradually
One of the simplest methods of blending is layering, where you apply color in multiple light layers instead of one heavy stroke. This approach lets you control how the hues combine. For instance, if you want to blend red and orange, start with a light layer of red, then softly add orange on top, and gradually deepen both colors until you achieve the desired shade. When using colored pencils that blend, it’s all about patience. Pressing harder too soon can burnish the layers, making it challenging to add more color later. Gentle pressure gives you more control and allows each layer to shine through.
Circular Motions
Using small, circular pencil strokes can eliminate harsh lines. This technique is especially useful when shading skin tones or creating soft gradients like a sunset sky. With Prismacolor pencils, the waxy core lends itself well to circular blending, allowing each color to melt into the next. Faber Castell pencils may require slightly more pressure, but the oil-based lead still produces smooth transitions if you maintain a light hand at first.
Burnishing
Burnishing involves using a light or neutral-colored pencil—such as a white, cream, or colorless blender—to apply firm pressure over existing layers of color. This action can bring out a polished, shiny finish. If you’ve layered blues and purples for a twilight scene, burnishing with a white pencil will soften any graininess and create a dreamy effect. Keep in mind that once you burnish, the paper’s tooth may be filled, making it harder to layer additional colors. Therefore, save burnishing for your final step.
Colorless Blender Pencils and Markers
Colorless blender pencils, often sold by Prismacolor or other brands, contain the binding agent but no pigment. They’re perfect for fusing colors together smoothly without adding any extra hue. Faber Castell also offers blending markers that dissolve the pencil core, letting you push pigment around for a painterly look. However, blender markers can slightly warp thin paper, so test them on a scrap piece before committing to your final artwork.
Avoiding Common Pitfalls
New colorists often make the mistake of pressing too hard right from the start. Heavy pressure not only risks breaking the pencil lead but also can produce streaky, uneven color. Another frequent challenge is using low-quality paper. Thin pages can’t handle the many layers required for true blending, leading to patchy or torn areas. If you’re working in a coloring book that doesn’t have the best paper, consider photocopying your favorite designs onto higher-quality sheets, especially if you want to practice advanced blending methods. Also, be careful with color choices. While experimentation is great, mixing complementary colors in the wrong order can result in muddy tones. For example, layering red over green without a clear plan can dull your image. Testing combinations on a separate swatch sheet is a lifesaver when you’re trying out new color mixes.
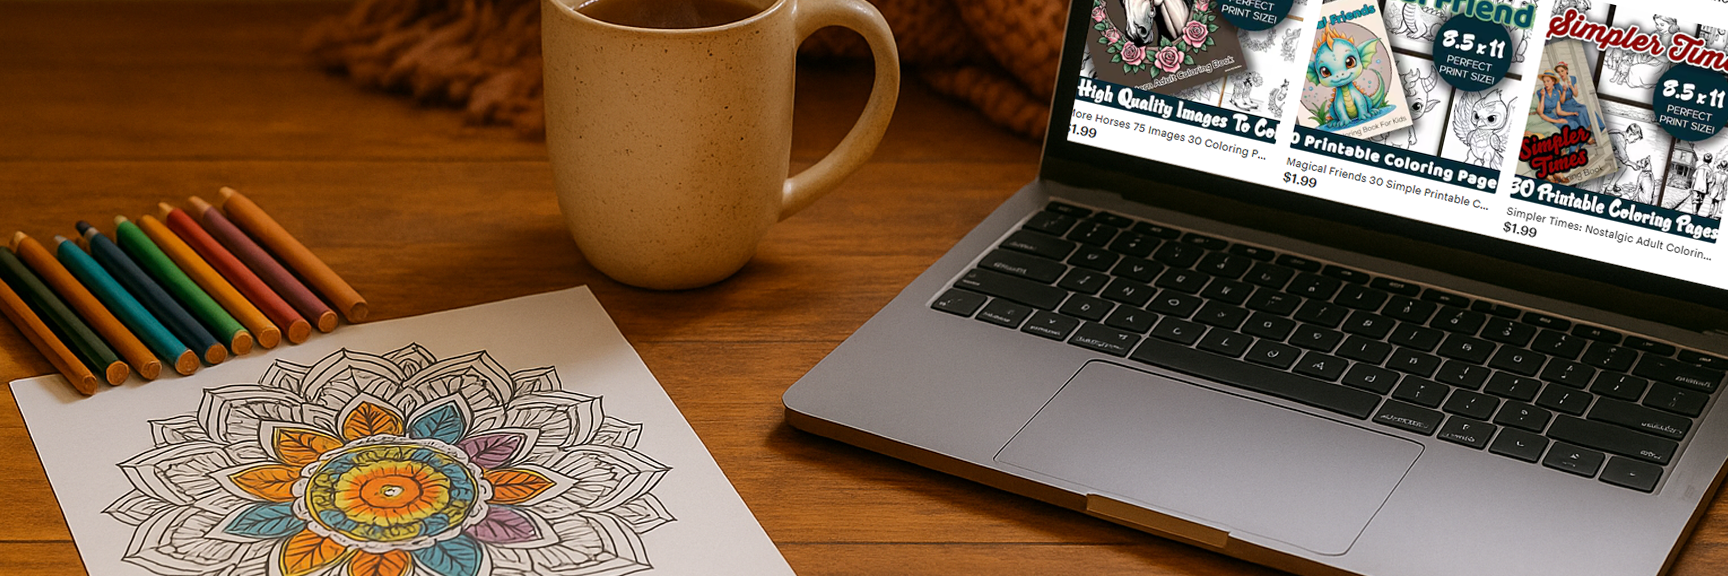
What to Look for in a Quality Adult Coloring Book
A good adult coloring book can make your blending journey smoother. Look for books printed on thick, acid-free paper if possible. This paper typically stands up to erasing, layering, and even light use of blending markers without bleeding. Additionally, consider the complexity of the designs. If you’re a beginner, you may want to stick to simpler illustrations that allow you plenty of room to practice smooth blending. More experienced colorists might enjoy extremely detailed pages, like mandalas or hyper-realistic floral patterns, where layering multiple pencil colors can bring out amazing textures.
Some books even come in themed collections, such as holiday sets or nature-inspired designs, which can keep you motivated to try fresh color palettes. If you have children who love to color, it’s worth researching the top coloring books for kids, as some publishers specifically design pages that appeal to all ages. This way, everyone in the family can join in the fun, possibly combining efforts to see who can blend the most creatively.
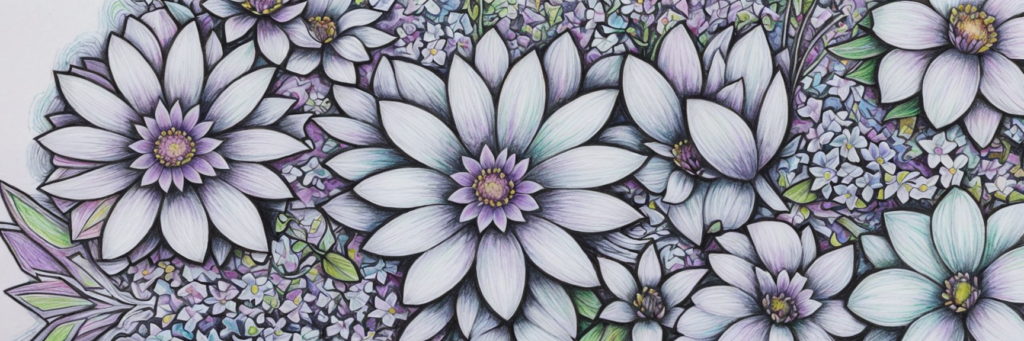
Blending with Colored Pencils on a Floral Image
If you’re eager to apply blending techniques on a floral illustration, this approach will help you bring petals, leaves, and floral details to life with smooth gradients and vibrant hues. The attached flower design offers plenty of areas for blending practice, from broad petals to fine, intricate lines in the leaves. By layering colors gradually, using gentle pressure, and incorporating effective blending methods, you can transform a simple black-and-white outline into a lush, eye-catching centerpiece.
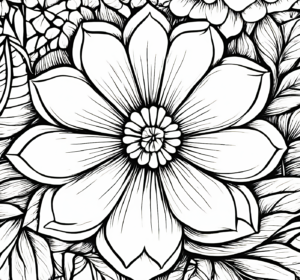 Step 1: Setting Up Your Materials and Preparing the Image
Begin by selecting a few core colored pencils for the flower petals, center details, and surrounding leaves. If you plan to color the petals in pink or red tones, have a lighter shade (like blush pink), a mid-tone (like magenta or bright red), and a deeper hue (like burgundy or dark purple) on hand. For the leaves, choose two or three complementary green tones plus a potential highlight color, such as a lighter yellow-green.
Place your print or coloring book page on a firm, smooth surface. Have a colorless blender pencil or blending marker ready. Good lighting is key—natural daylight or a bright, steady desk lamp will allow you to see your color transitions more accurately.
Step 2: Light Base Layer on the Petals
Focus on one large petal first. Apply your lightest shade in gentle, circular strokes, covering the entire petal. This base layer shouldn’t be very heavy; you only need enough pigment to mark where the main color will go. Use minimal pressure to avoid flattening the paper’s texture, which is crucial for layering subsequent colors.
If you’re coloring multiple petals, repeat this across each one. At this stage, you’ll see a uniform wash of color indicating your main tone. Keep other pencils and your eraser nearby in case you need to lift any stray marks around the edges.
 Step 3: Adding Depth with Mid-Tone Colors
Next, add your mid-tone shade toward the base or center of each petal, where the flower naturally appears darker. You might also introduce a bit of this shade around the edges near the petals’ overlap, as these areas can collect shadows. Work in slow, controlled strokes and blend it lightly into the existing lighter layer.
By layering gradually, you’ll retain the option of deepening the tone later without risking harsh lines or losing the ability to add further color. If the petal has a natural crease or fold, consider shading that area a little darker for added dimension.
Step 4: Dark Accents for Contrast
To emphasize the flower’s curvature, take your darkest shade—such as burgundy, deep red, or even a subtle purple—and blend it gently into the petal’s base and folds. Concentrate the darkest tones in the areas where the petal meets the flower’s center or overlaps another petal.
Use a light hand to ensure you don’t overpower the mid-tone layers. Blending works best when colors transition smoothly, so it’s better to apply two or three light layers of a dark color rather than one heavy pass.
Step 5: Blending and Softening Transitions
This is where your colorless blender pencil or blending marker can make a noticeable difference. Starting from the lighter sections of the petal, move toward the darker areas in small, circular or back-and-forth strokes. The binder in the blender pencil or solution in the marker will soften the color edges and create a seamless gradient.
If you don’t have a blender pencil, you can also burnish gently with a white or very light-colored pencil. Be mindful that heavy burnishing can fill the paper’s tooth and limit additional layering, so take this step slowly.
 Step 6: Coloring and Blending the Center
Focus on the center of the flower, which often catches the viewer’s eye. If you’d like a warm, bright look, choose yellows, oranges, or even a light brown for more contrast against the petals. Shade with the same layering strategy—light base, mid-tone for depth, then subtle dark accents where shadows naturally occur.
Blend these tones carefully so they transition smoothly around the central lines or small shapes within the flower’s core. If the design features tiny curved lines or a circular motif, use short, fine strokes that follow the curves, helping the center appear rounded and dimensional.
Step 7: Final Touches and Polishing
Once your petals and center have been blended to your satisfaction, step back and assess the overall balance of lights and darks. You can intensify shadows by adding another layer of mid-tone or dark color in strategic places. If certain transitions appear too abrupt, gently go over them with your blender pencil or a light pencil in circular strokes.
Don’t forget the small spaces between petals or behind leaves. Filling them in with complementary background colors or even a contrasting hue (like pastel blues or purples) will help the floral design pop. A final check under good light ensures your gradients are smooth and your shadows align with the flower’s natural shapes.
Start Mastering How to Blend with Colored Pencils
Mastering how to blend with colored pencils can feel like a breakthrough moment for any colorist, especially when you notice the remarkable difference it makes in your artwork. Each technique—from layering lightly to burnishing with a colorless blender—adds depth and vibrancy to your designs. Whether you choose to work with Prismacolor Premier colored pencils, Faber Castell colored pencils, or a budget-friendly set like Vikavas, refining your blending methods will push your creativity to new heights.
If you’re excited to continue this colorful journey, sign up for my email list for free printable coloring pages that you can practice on. It’s a great way to try out different blending styles and see what resonates with you. You’ll also receive updates on new art products, exclusive coloring tips, and seasonal deals that might include affiliate links to my favorite pencil sets. Let’s keep creating stunning art, one blended layer at a time!