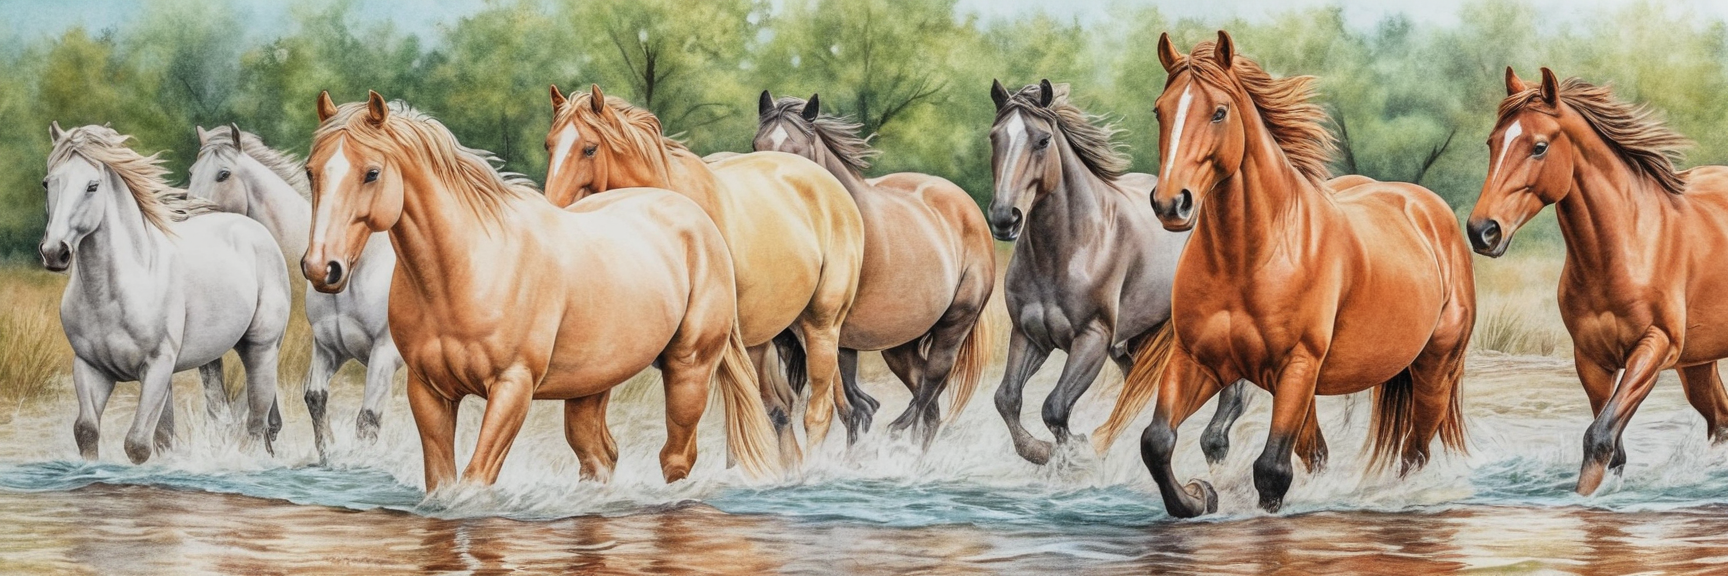
Shading is an essential skill for anyone looking to bring their colored pencil artwork to life. Whether you’re new to coloring or a seasoned artist, mastering the art of shading can elevate your work from flat and lifeless to vibrant and dynamic. In this article, we’ll explore some of the top colored pencil shading techniques that will help you create more realistic and engaging artwork. Let’s dive in!
Understanding the Basics of Shading
Before diving into specific techniques, it’s important to understand the fundamentals of shading. Shading is all about creating depth, dimension, and contrast by varying the lightness and darkness of your colors. The way you apply pressure, layer colors, and blend them together will significantly impact the overall look of your coloring.
One key concept to grasp is the difference between highlights and shadows. Highlights are the areas of your drawing that are hit by the most light, making them the lightest parts. Shadows, on the other hand, are the areas that receive the least light, making them the darkest. By accurately representing these in your coloring, you can achieve a more realistic and dynamic result.
Technique 1: Layering for Depth
Layering is a foundational technique in colored pencil shading. By applying multiple layers of color, you can build depth and richness in your artwork. Start with a light layer of your base color and gradually add more layers, increasing the pressure slightly as you go. This will help you achieve a smooth transition from light to dark.
To add complexity and realism, try layering different colors on top of each other. For example, instead of using just one shade of green for a leaf, experiment with adding touches of yellow, blue, or even brown to create a more nuanced and realistic hue. This technique works especially well for organic subjects like plants, animals, and landscapes.
Technique 2: Blending for Smooth Transitions
Blending is essential for creating smooth, seamless transitions between colors. There are several ways to blend colored pencils, each offering a different effect.
-
Dry Blending: This is the most straightforward method, where you use the pencils themselves to blend colors together. By applying light pressure and using circular motions, you can gently mix the colors on the paper.
-
Burnishing: This technique involves pressing down hard with a lighter-colored pencil or a colorless blender to blend the colors together. Burnishing can create a polished, almost glossy look, but be cautious—it can flatten your paper’s texture, making it harder to add more layers.
-
Solvent Blending: For a smoother finish, you can use a solvent like mineral spirits or rubbing alcohol to dissolve the wax in the pencils, allowing the colors to blend more like paint. Use a brush or cotton swab to apply the solvent, but be sure to test it on a scrap piece of paper first.
Technique 3: Hatching and Cross-Hatching for Texture
Hatching and cross-hatching are shading techniques that involve drawing closely spaced parallel lines (hatching) or crisscrossed lines (cross-hatching) to build up shading and texture. These techniques are great for adding texture and dimension to your drawings.
-
Hatching: Use this technique to create subtle shading by varying the density and pressure of your lines. Light pressure will produce faint lines for delicate shading, while heavier pressure will create darker, more defined shading.
-
Cross-Hatching: For more intense shading, cross-hatch your lines by drawing a second set of lines at an angle to the first. This technique is particularly useful for depicting rough or textured surfaces, like tree bark or fabric.
Technique 4: Scumbling for a Soft, Grainy Effect
Scumbling is a technique where you apply small, circular scribbles of color to build up shading. This method creates a soft, grainy texture that’s perfect for adding subtle shading to areas like skin tones, clouds, or distant landscapes.
To scumble, use a light touch and build up the shading slowly, layering different colors as needed. This technique is also great for adding a bit of “atmosphere” to your drawings, giving them a more natural, less polished look.
Technique 5: The Power of Highlights and Shadows
One of the most effective ways to make your colored pencil drawings pop is by emphasizing highlights and shadows. This technique involves deliberately leaving areas of the paper white (for highlights) or using a dark pencil (for shadows) to create strong contrasts.
-
Highlights: Use the white of the paper or a white pencil to preserve the lightest areas of your drawing. If you accidentally color over a highlight, you can use a white pencil or a white gel pen to add it back in.
-
Shadows: Use dark colors like black, dark blue, or brown to deepen the shadows in your drawing. Pay attention to the direction of your light source and place your shadows accordingly. The stronger the contrast between your highlights and shadows, the more dynamic and three-dimensional your drawing will appear.
Quick Reference: Essential Shading Techniques
Here’s a quick list of the shading techniques we’ve covered:
-
Layering: Build depth by layering multiple colors.
-
Blending: Smooth transitions between colors using various blending methods.
-
Hatching and Cross-Hatching: Create texture with parallel or crisscrossed lines.
-
Scumbling: Apply circular scribbles for a soft, grainy effect.
-
Highlights and Shadows: Use contrast to add dimension and realism.
Elevate Your Coloring Skills with Patience and Practice
Mastering these colored pencil shading techniques will take your coloring from flat and basic to realistic and dynamic. Practice each technique individually and then try combining them to see how they can work together to create stunning results. Remember, shading is all about patience and practice—so don’t be afraid to experiment and find what works best for you. Happy coloring!

